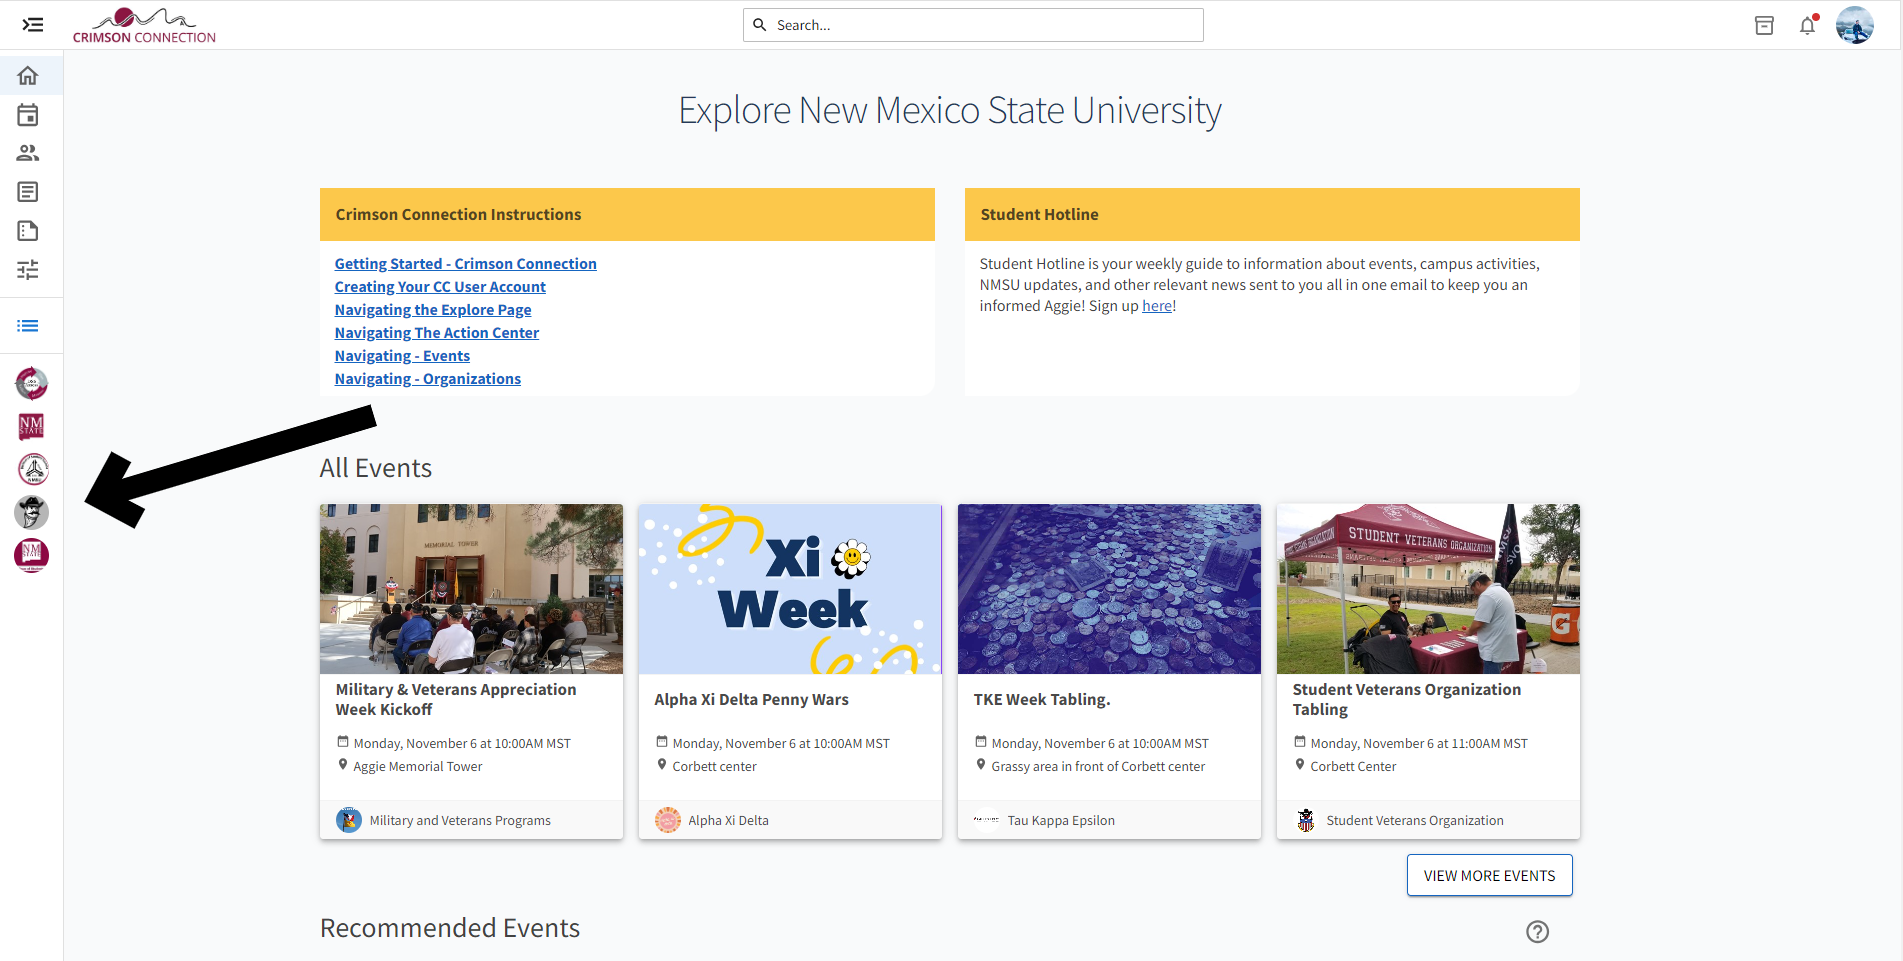
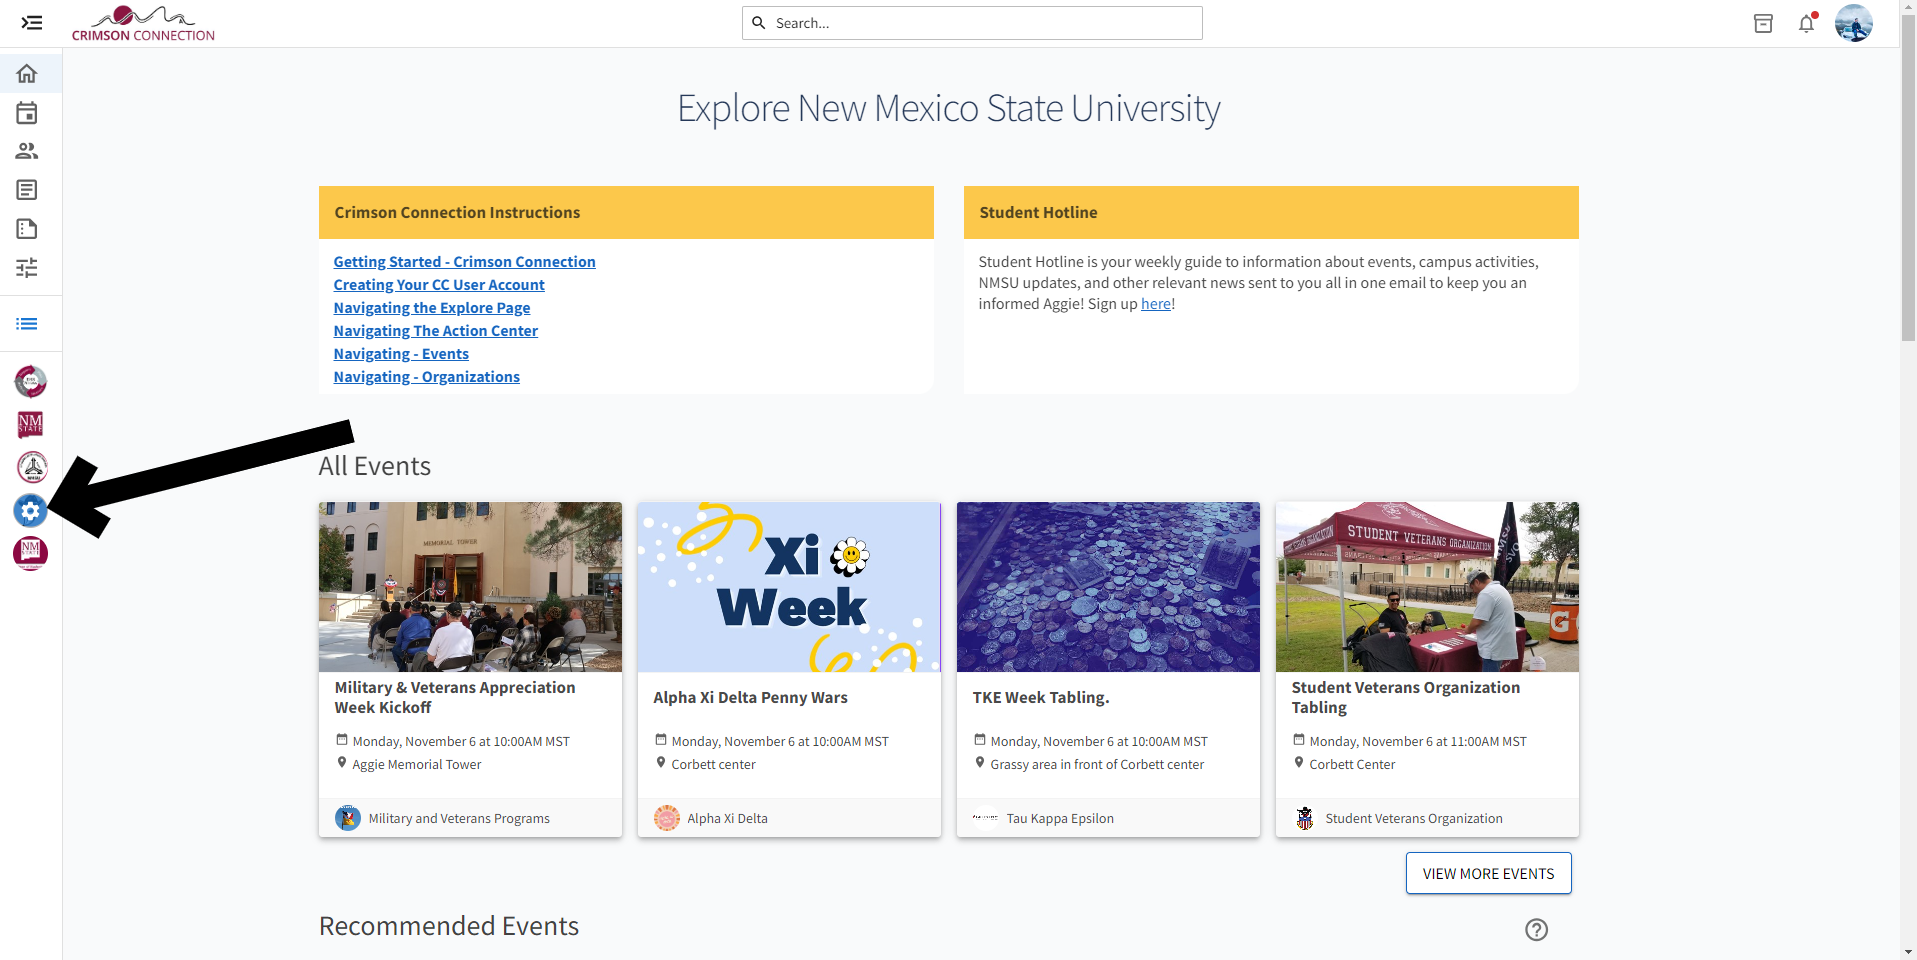
Once the Gear is highlighted, select the Events tab from the drop down list to bring up the events management page. (Note: You must have administrative access to your organization to create events)
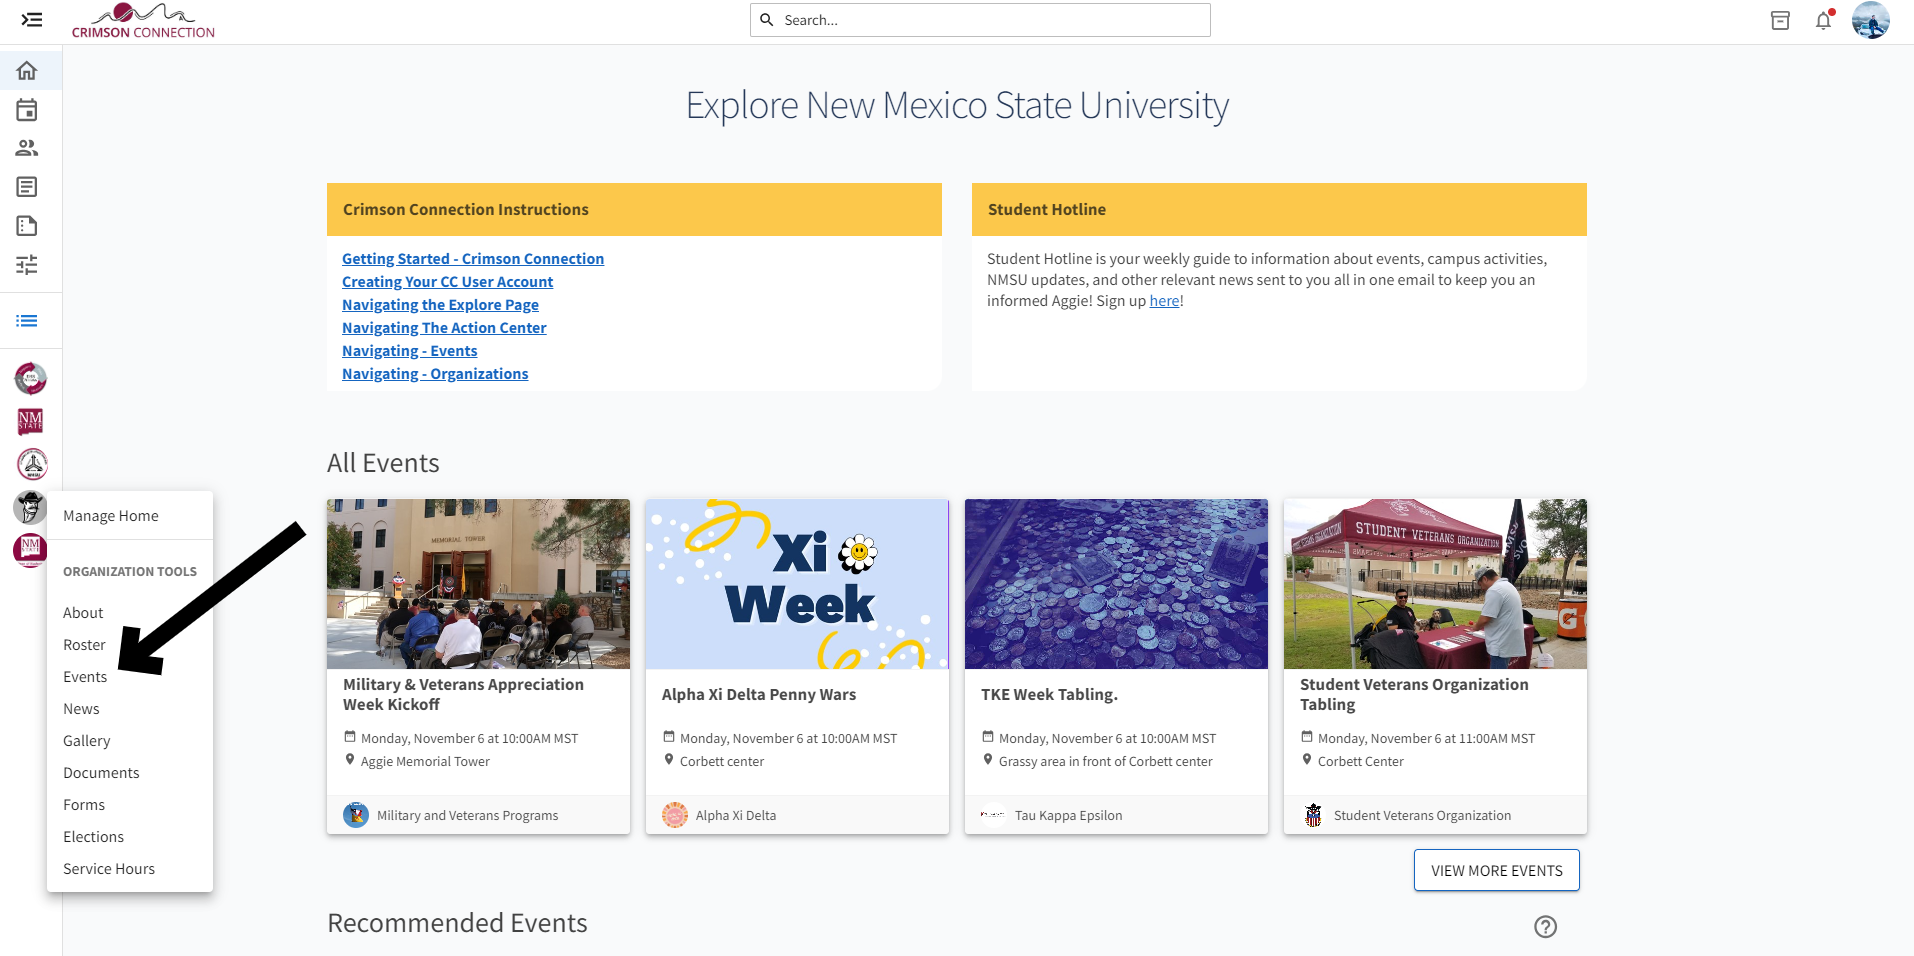
Once you click on events, the events page will appear. Click create event (if you have access) in the top corner on the events page.
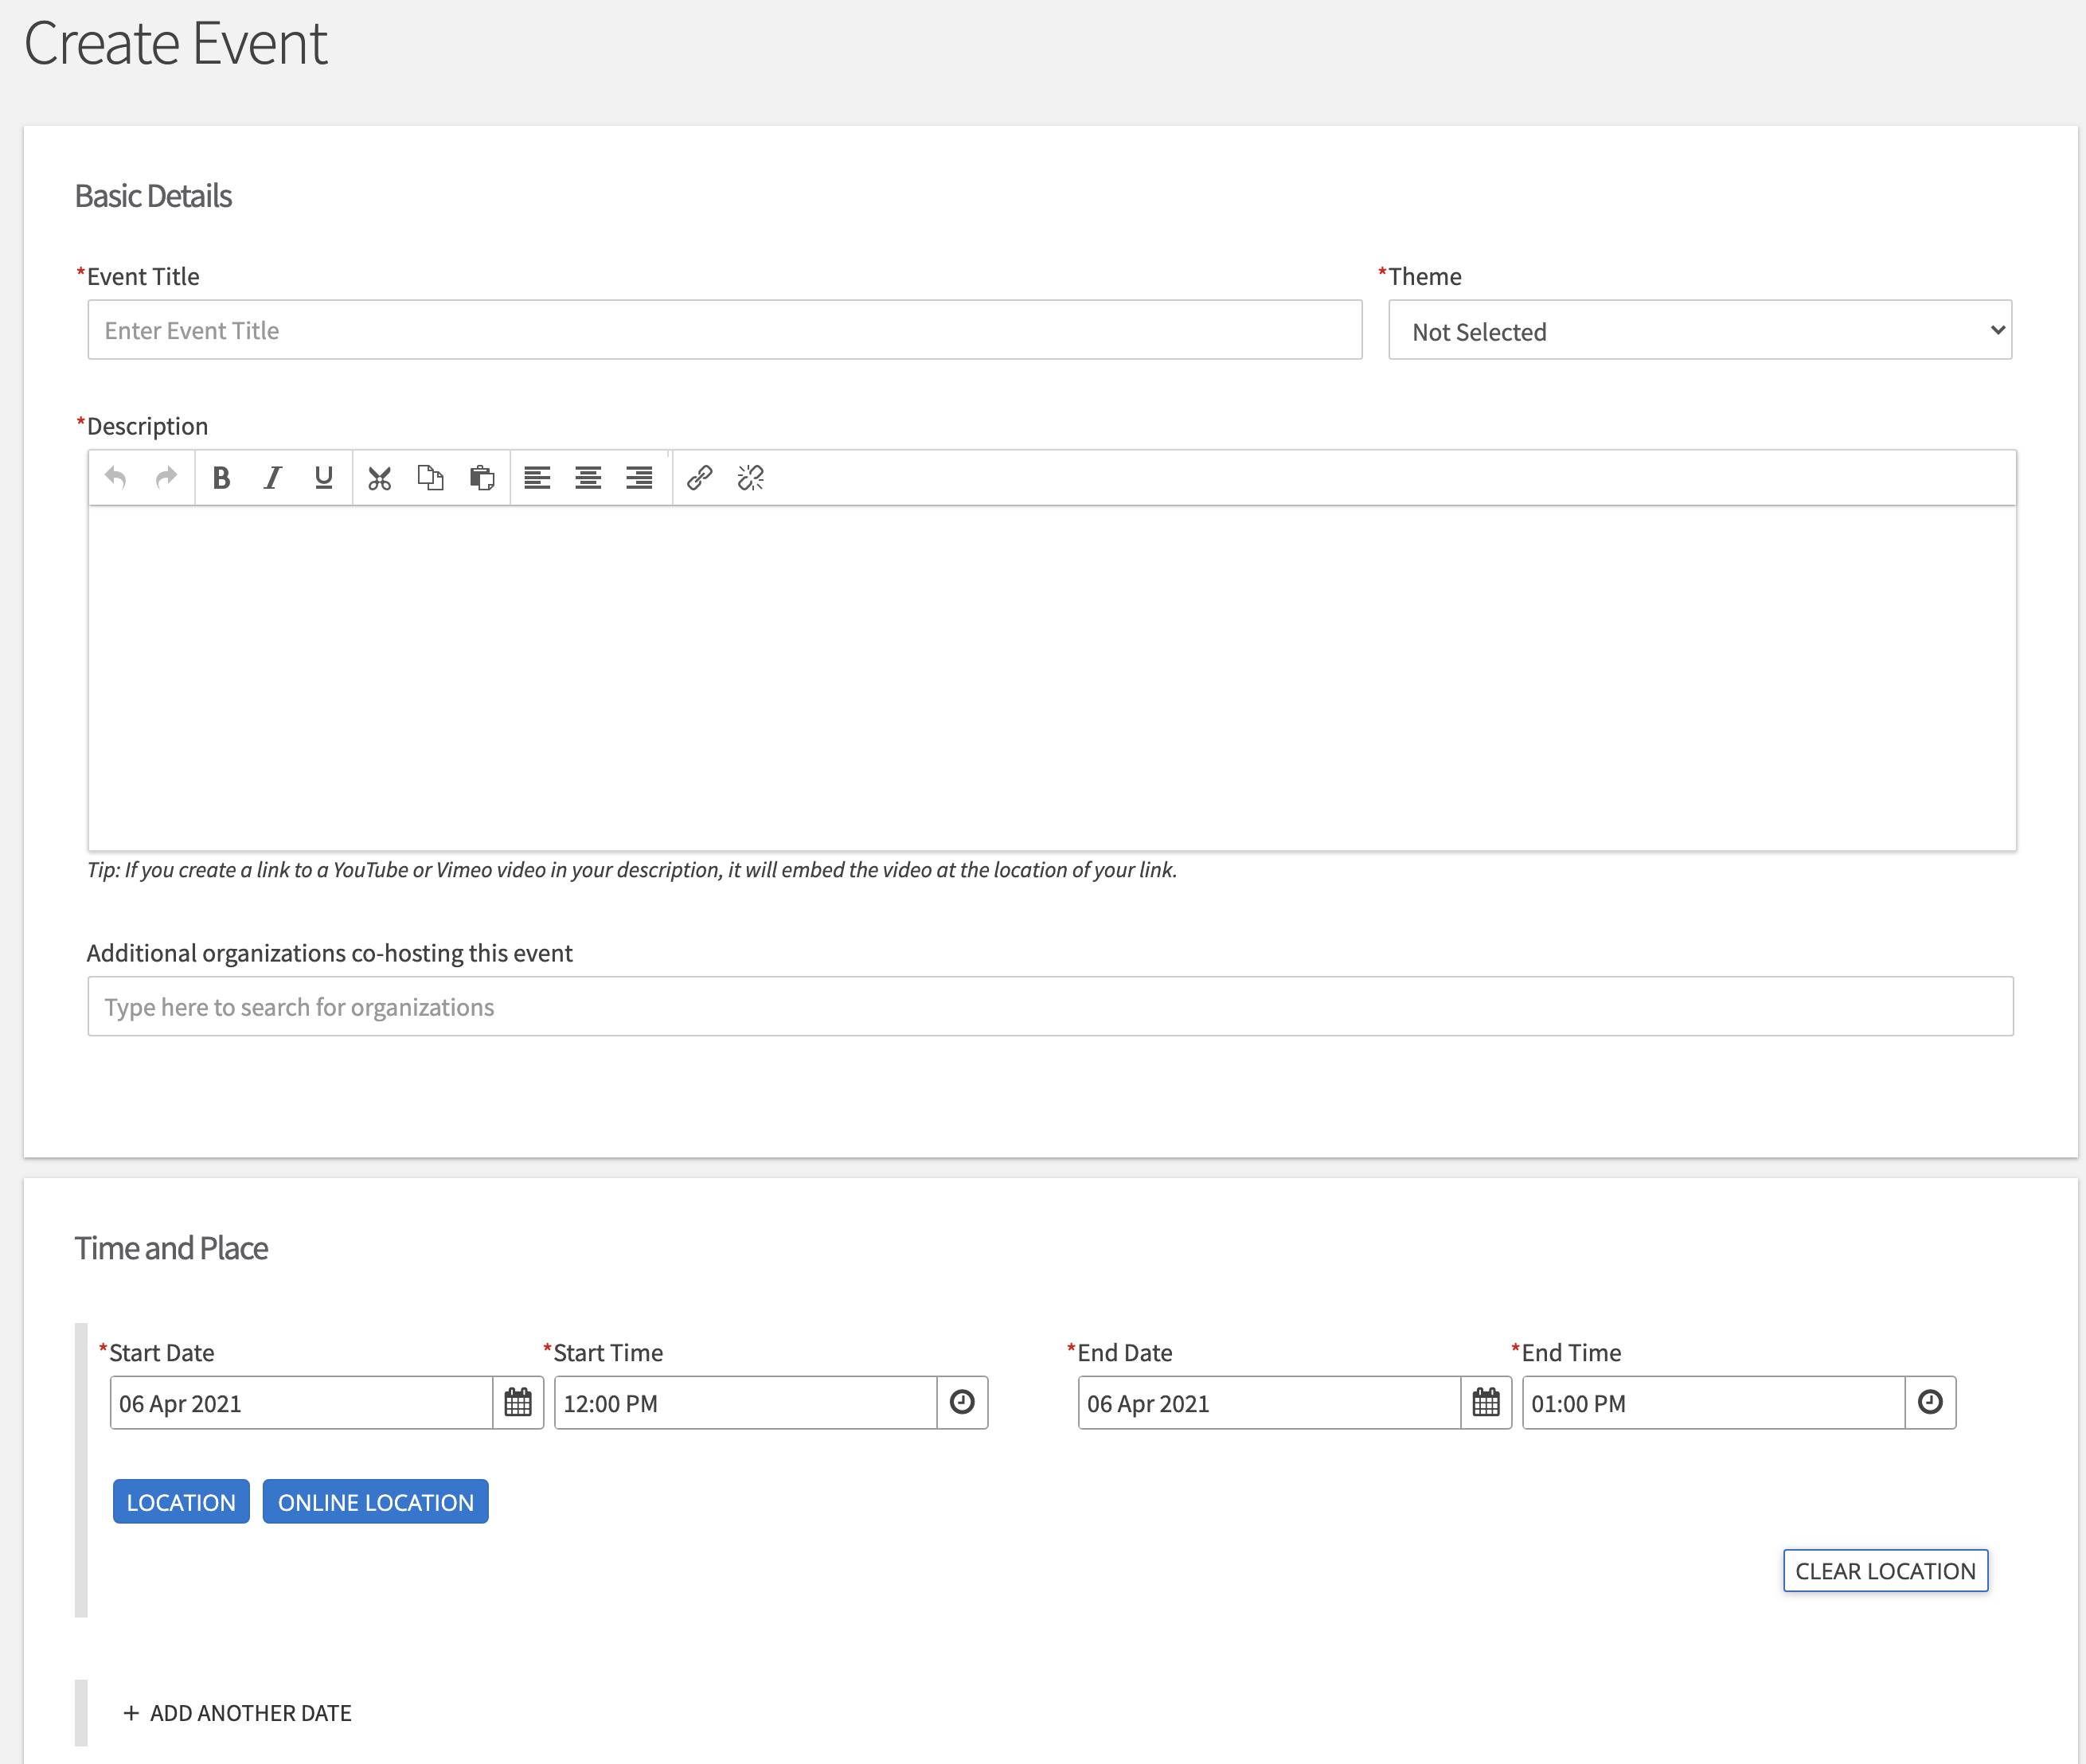
Step 2: Creating an event.
Enter the Event Title, App Theme, Description, Start time, End time, and Location.
You can add additional dates
Under location, you can click location or online
-Location ( you can provide an address with a map or just put no map and type in the location)
-Online (allows you to give instructions and provide a URL link to the online event.
You can click both.
Specify the event details- Show to:
- The Public (NMSU and Non NMSU Community)
- Students and Staff at Crimson Connection (Anyone logged in with NMSU credentials)
- Organization Members (Only members of your organization can view this event)
- Invitation Only (only students who received an invitation can see the event)
- Select the categories which the event fits from the drop down menu.
Categories allow users to search for events by type in the Events calendar page
Select the perks which the event offers from the drop down menu.
Check if you would like anyone to Self-Report Attendance at an event.
- This means they would appear on the attendance report if they self-report but do not swipe in at an event.

Steps 3&4:
Specify who can RSVP
- Anyone: (Anyone who is logged in can RSVP)
- Even if you do not need to capture RSVPs for your event, it is recommended that you select “Anyone.”
- Users can RSVP to events to keep track of them in their personal Crimson Connection events calendar under the “Events” section of the “Involvement” drop down, which is hosted under “Your name” in the top right corner of the toolbar.
- Only invitees: (Only users that you invite through Crimson Connection can RSVP.)
- No one: Use this option if the event is “closed” to certain members or RSVP is not applicable.

Click Next
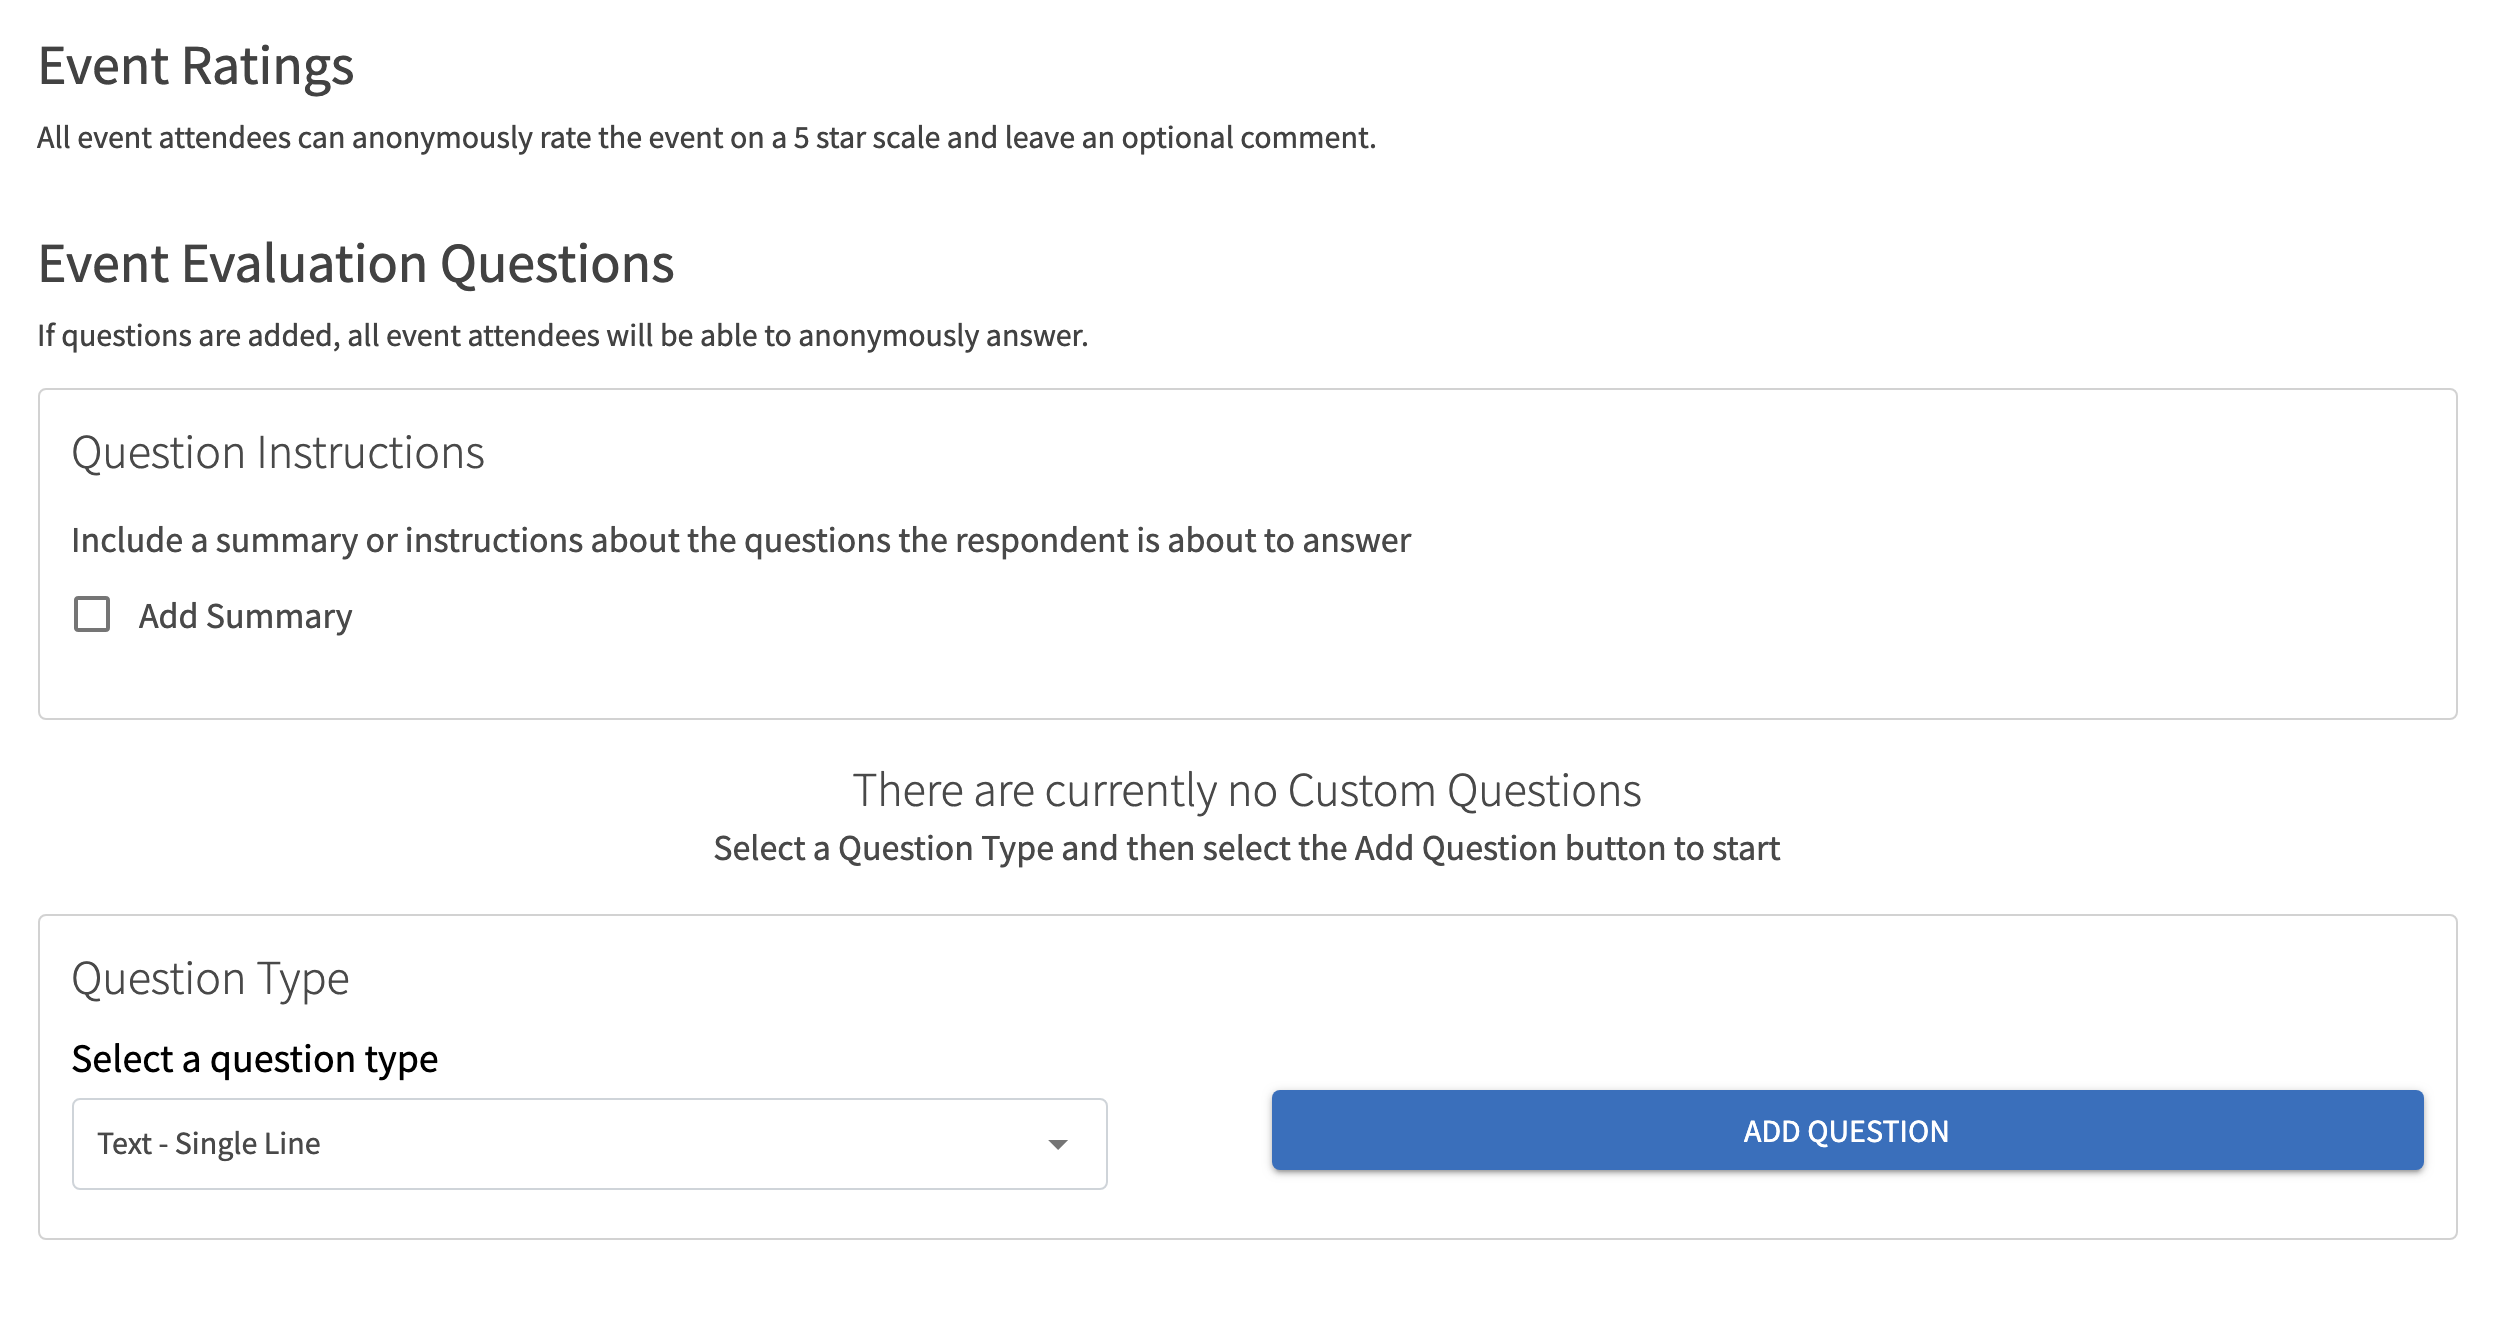
Post Event Feedback will allow attendees to anonymously rate and answer questions following an event.
They will be notified with a link that expires 72 hours after the notification is sent.
Event Evaluation Questions are not required and will not be sent within the notification unless they are added.
Click Next
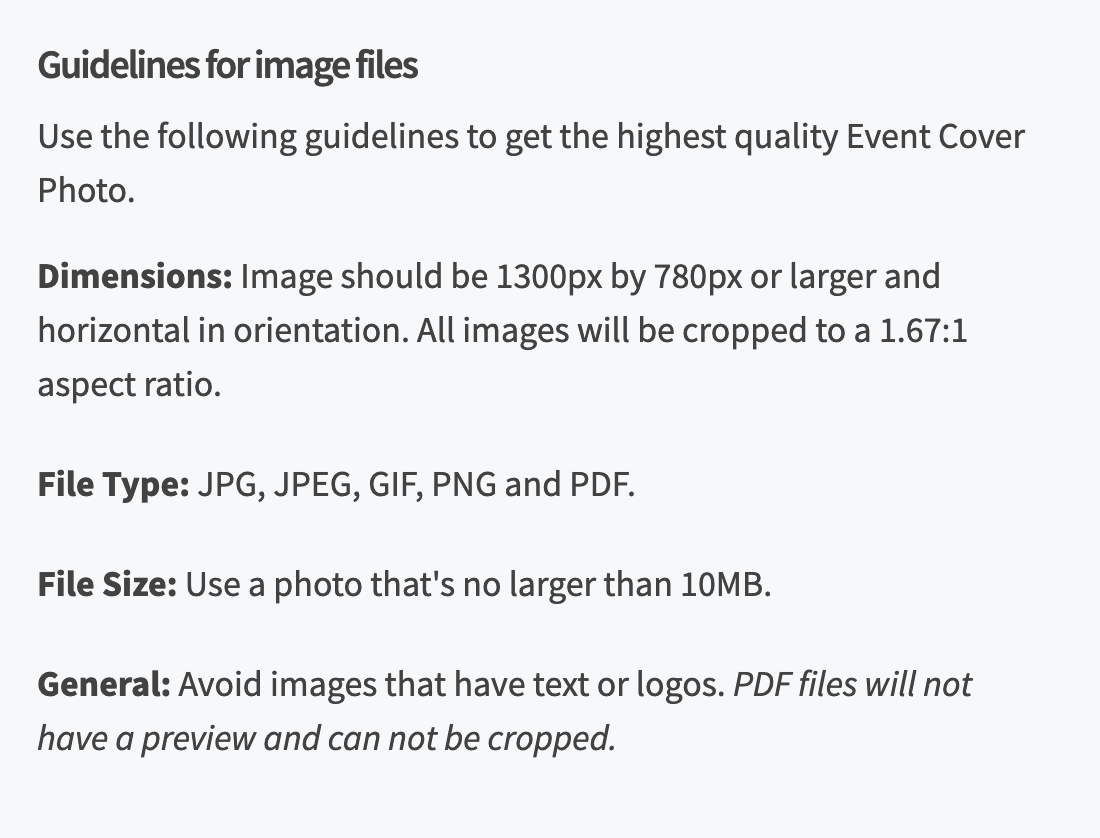
Step 4: Uploading your event photo
Upload a Photo
Your Cover Photo helps draw attention to your event. To make sure your image looks great, choose a high resolution photo that's eye-catching, high quality, with a central focal point.
Click Next
Additional Information
Under additional information you will need to click the following:
- What type of event is this ( In person, online, or hybrid (both)
- Is this a new member event?
- Is this an event associated with the Office of Fraternity and Sorority Life ( organizations under Panhellenic Council, Inter-Fraternity Council, and Kappa Delta Chi Sorority Inc.)
Click Next
Additional Pages
Please fill out the additional pages based upon your responses to the additional information questions and pages following after.
NMSU Student Organizations - You will need to fill out Risk Management Sections pertaining to which type of event you clicked ( In person, online, hybrid) as well as any additional pages depending on the answers to your event type sections. (food service, alcohol service, Insurance liability, etc.)
If you need any additional information, or need help filling out the form, please contact the Student Involvement and Leadership Programs Office at 575-646-3200 or silp@nmsu.edu
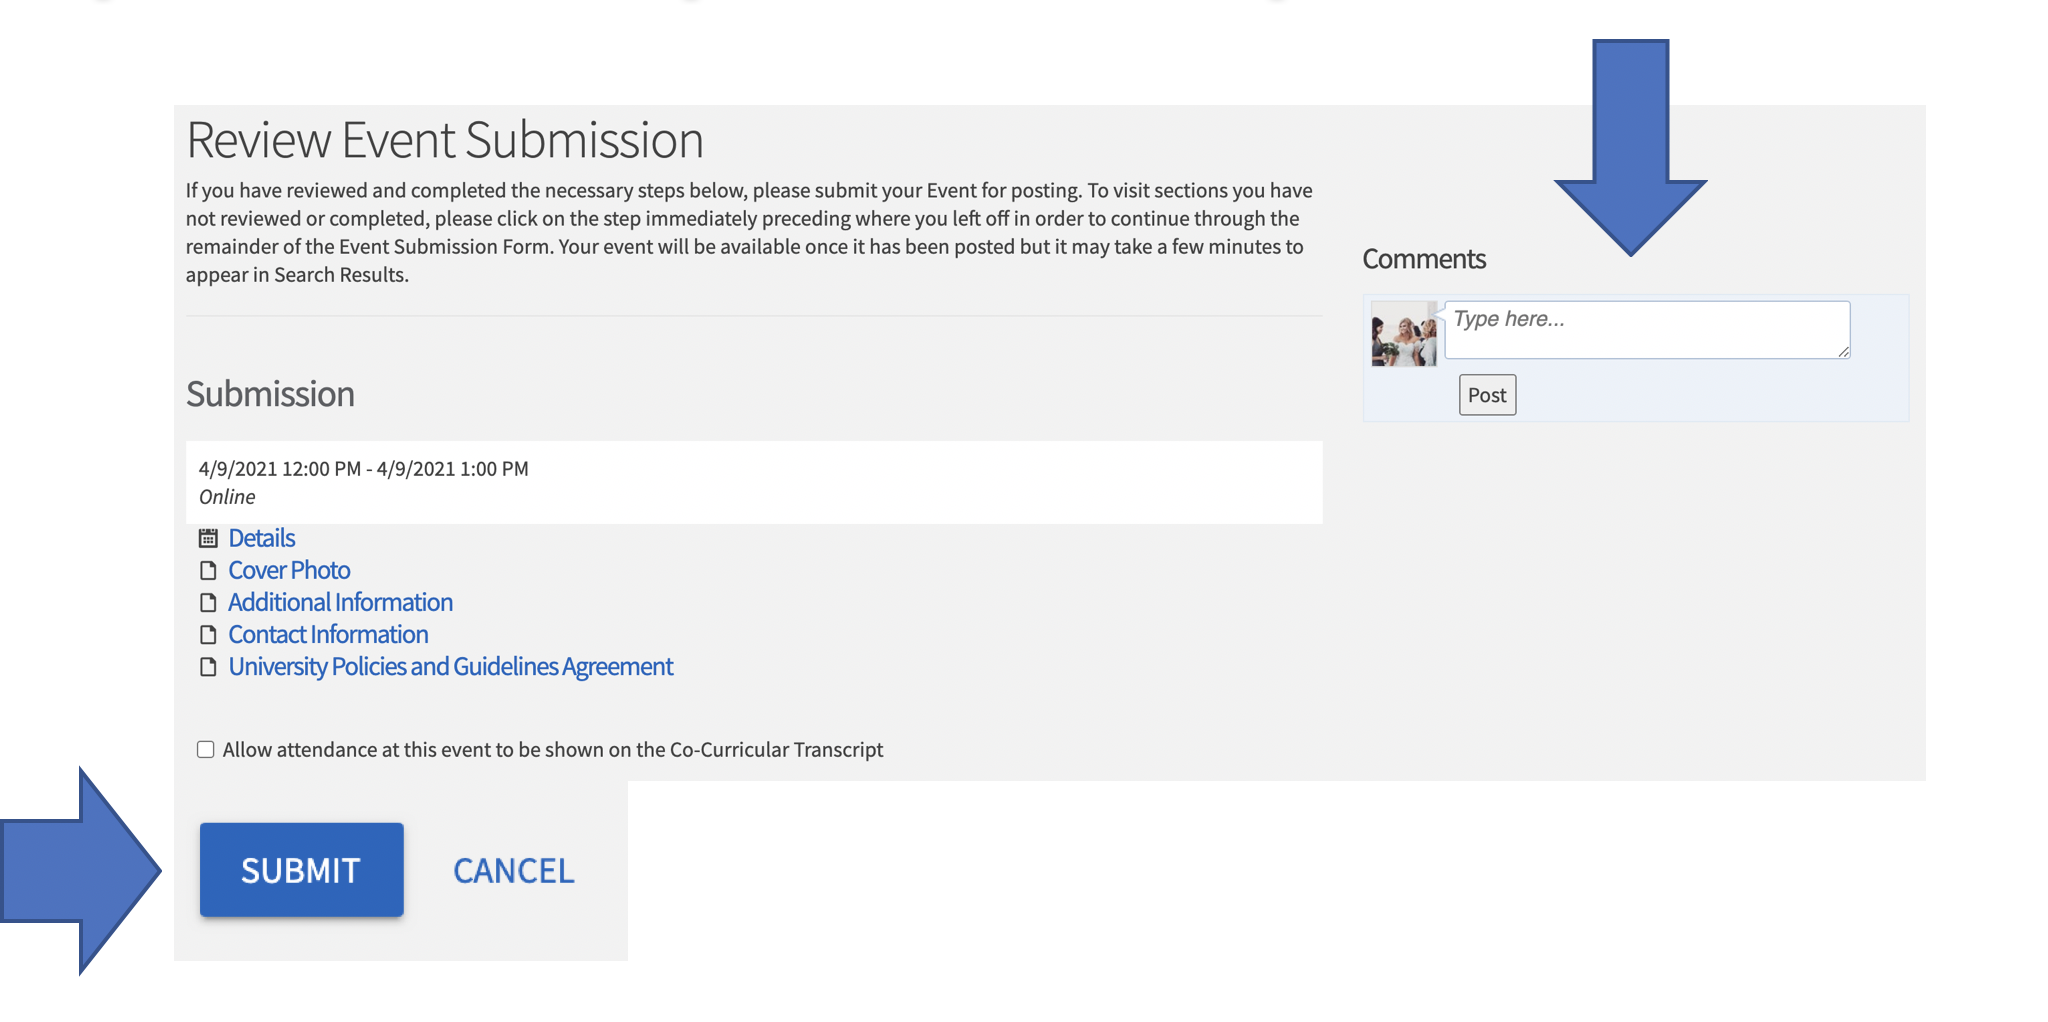
Final Page
Check if you would like attendance at this event to show up on a user’s Co-Curricular Transcript
You can make comments or asks questions at the box at the top.
Click Submit.