
Roster Management

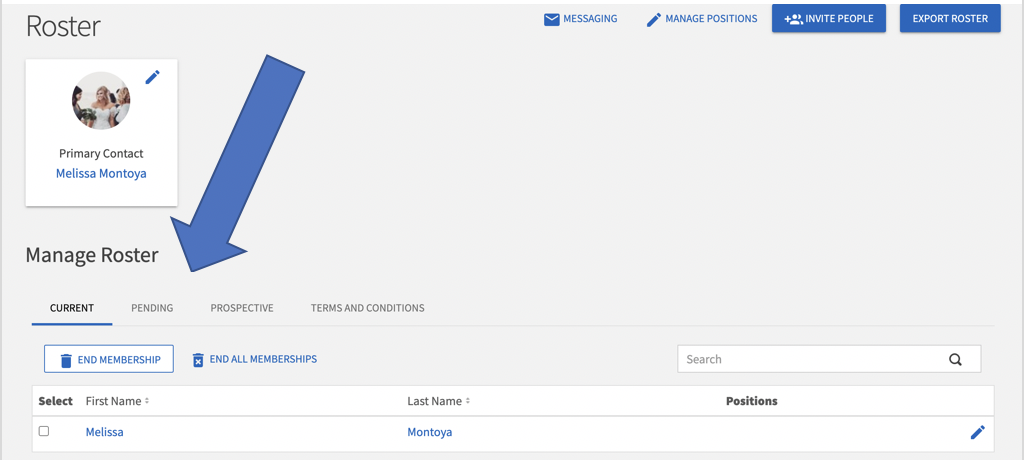
Here you can manage current members, invite new members to join your organization, assign membership classifications or officer positions, and grant administrative access to the features of your site.

Only officers with all access or full access to the Roster can manage the organization membership and officer positions.

Accessing Organization Roster

  1. Select the Roster tab from the pop-out menu next to organization name in the top left corner.
  2. The complete ( or incomplete depending on invites and loads) roster for your organization is now displayed.

Interface for Student Involvement and Leadership Programs, highlighting the navigation menu with the "Roster" option selected.

Student Involvement and Leadership Programs roster management interface.

Inviting New Members

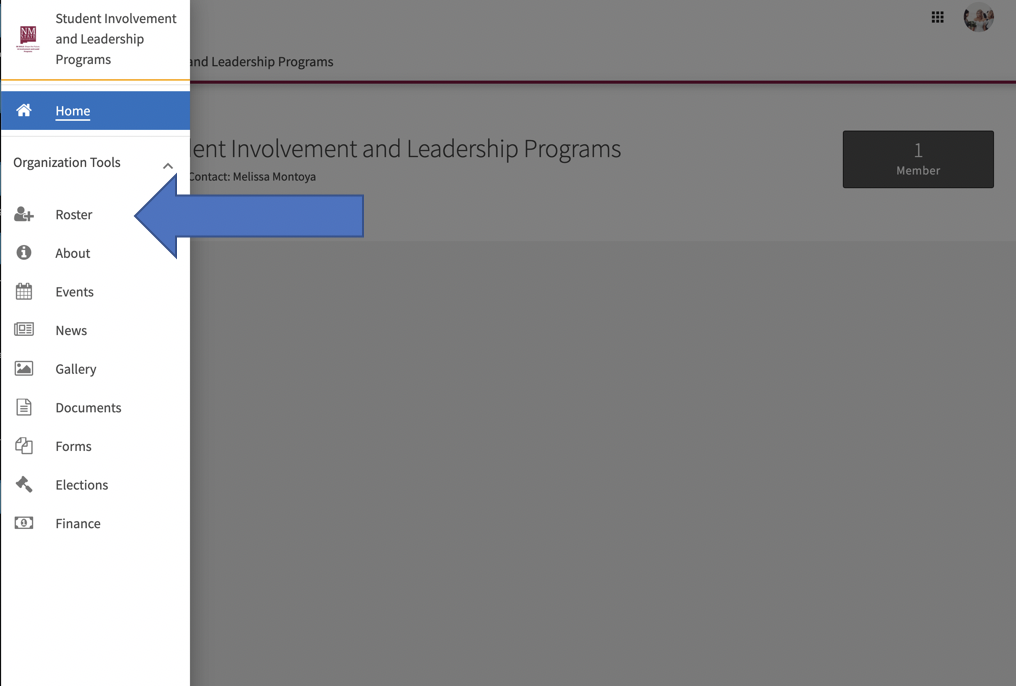
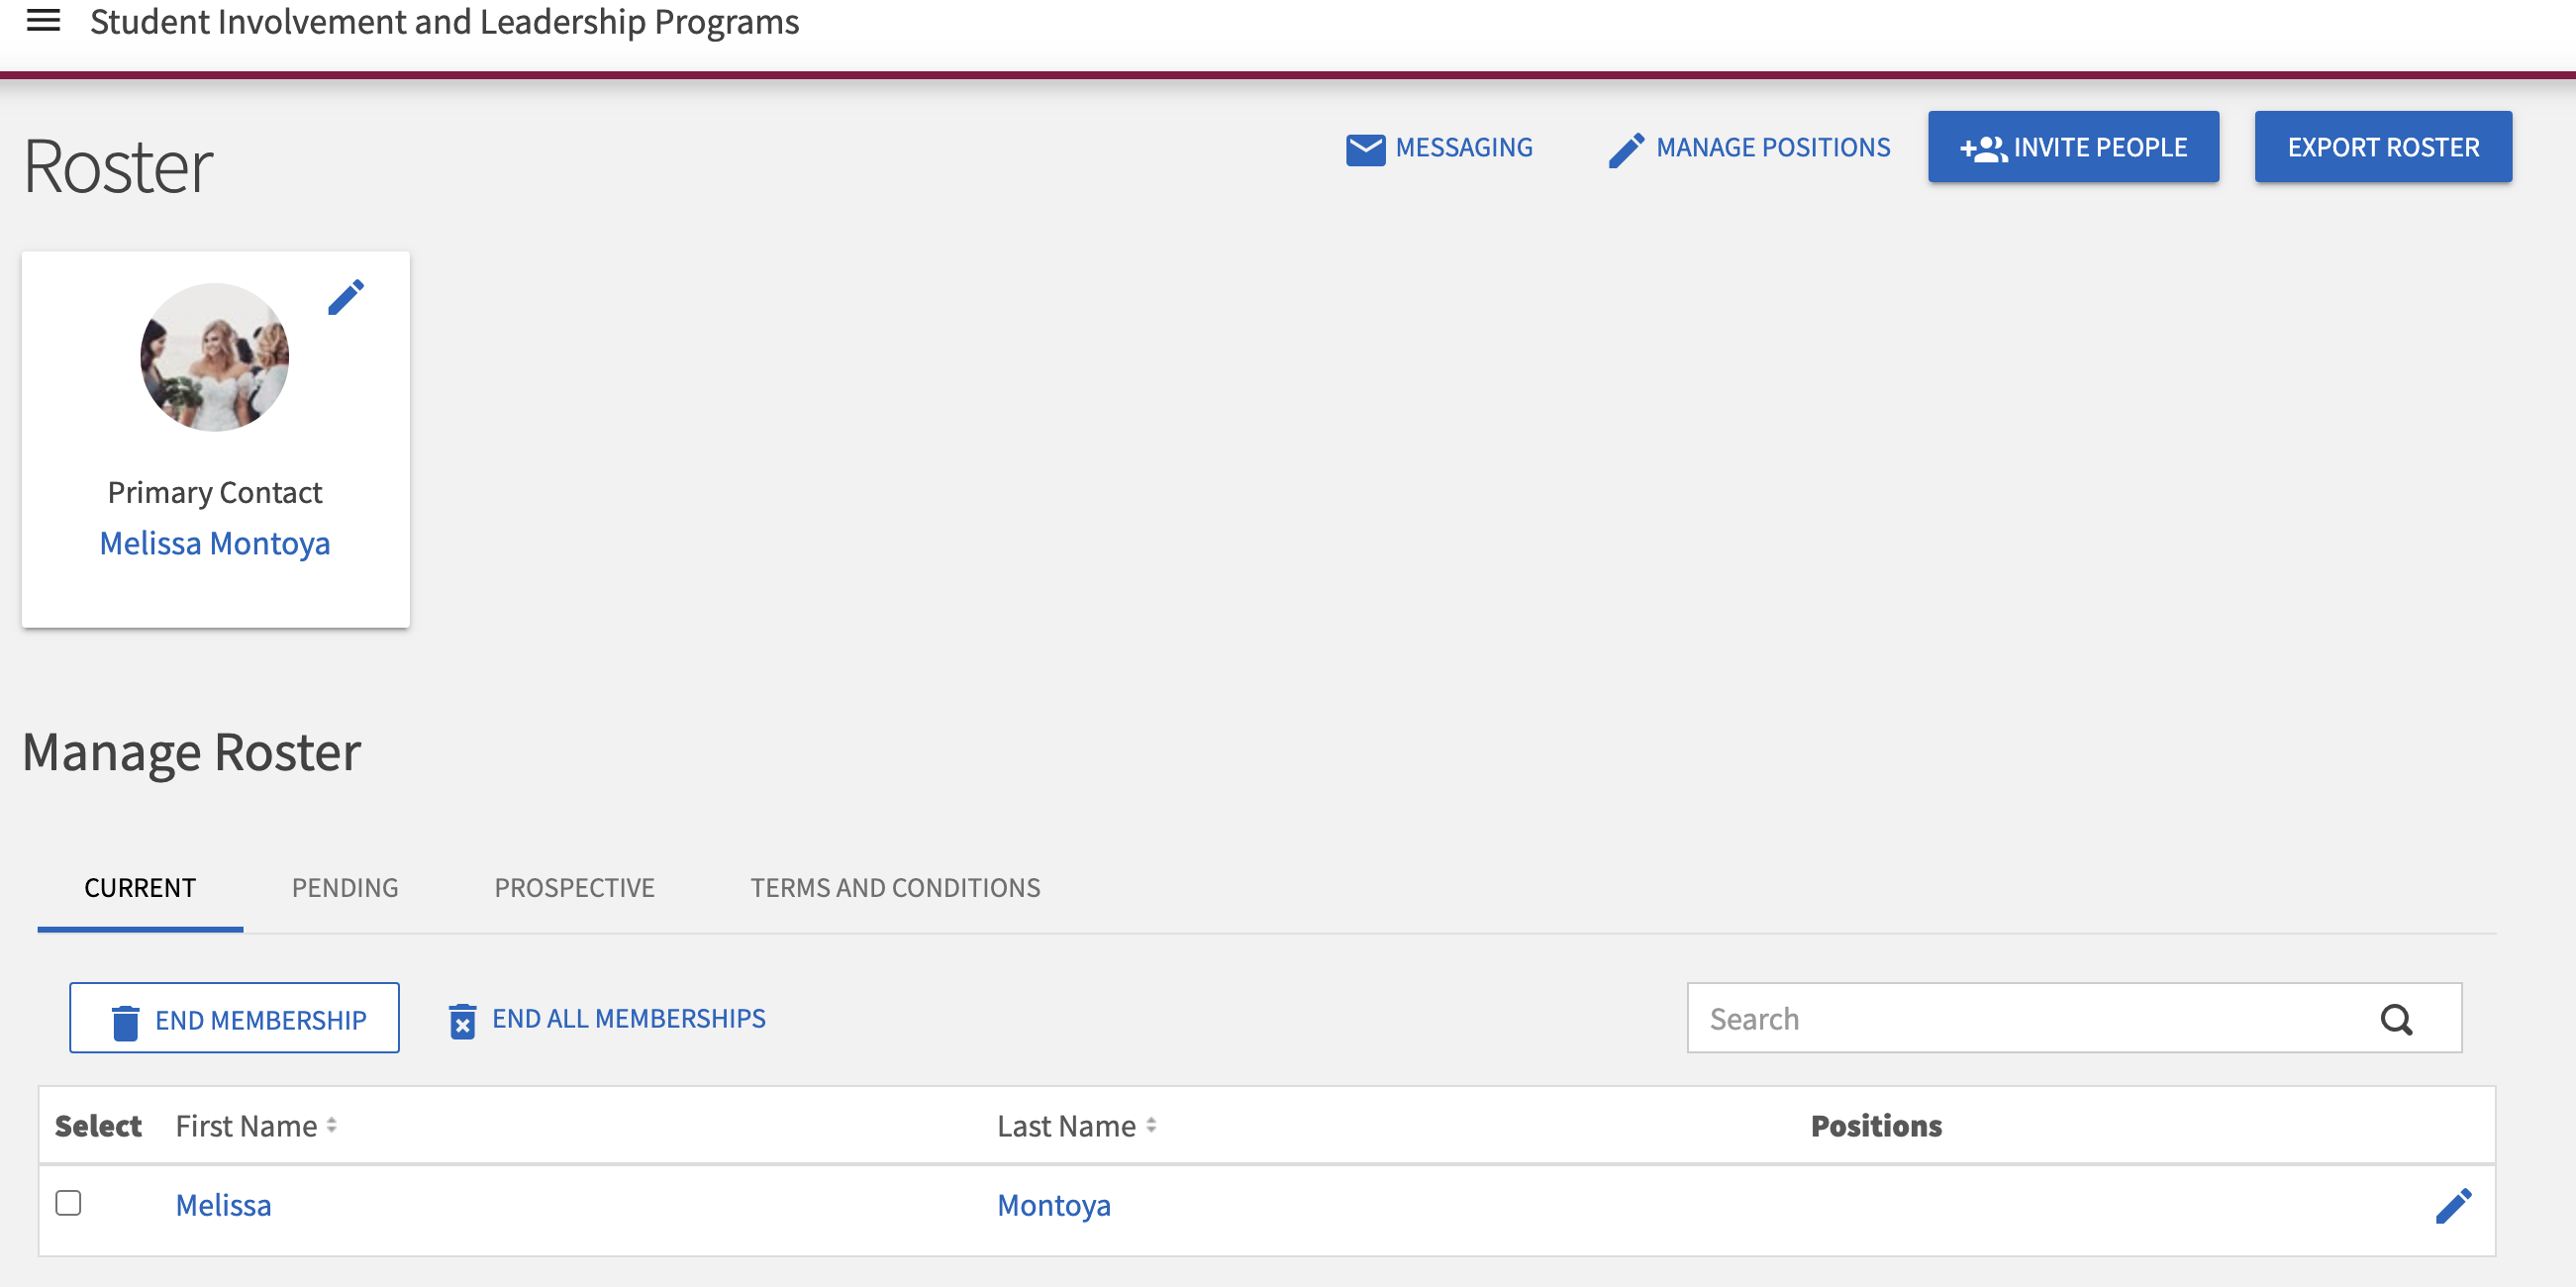
1.Click on Invite People in the top right corner.

Screenshot highlighting the "Invite People" and "Export Roster" buttons with an arrow pointing towards them for emphasis.

2.Enter the email addresses of the individuals you wish to send invitations for membership.

3.Select a designation from the Invite as dropdown if you would like to assign a specific position or officer designation to the person you are inviting. Leave the designation as “member” if the person does not need to be assigned a position.

Screenshot of an invitation form prompting users to enter up to 500 school-associated email addresses.

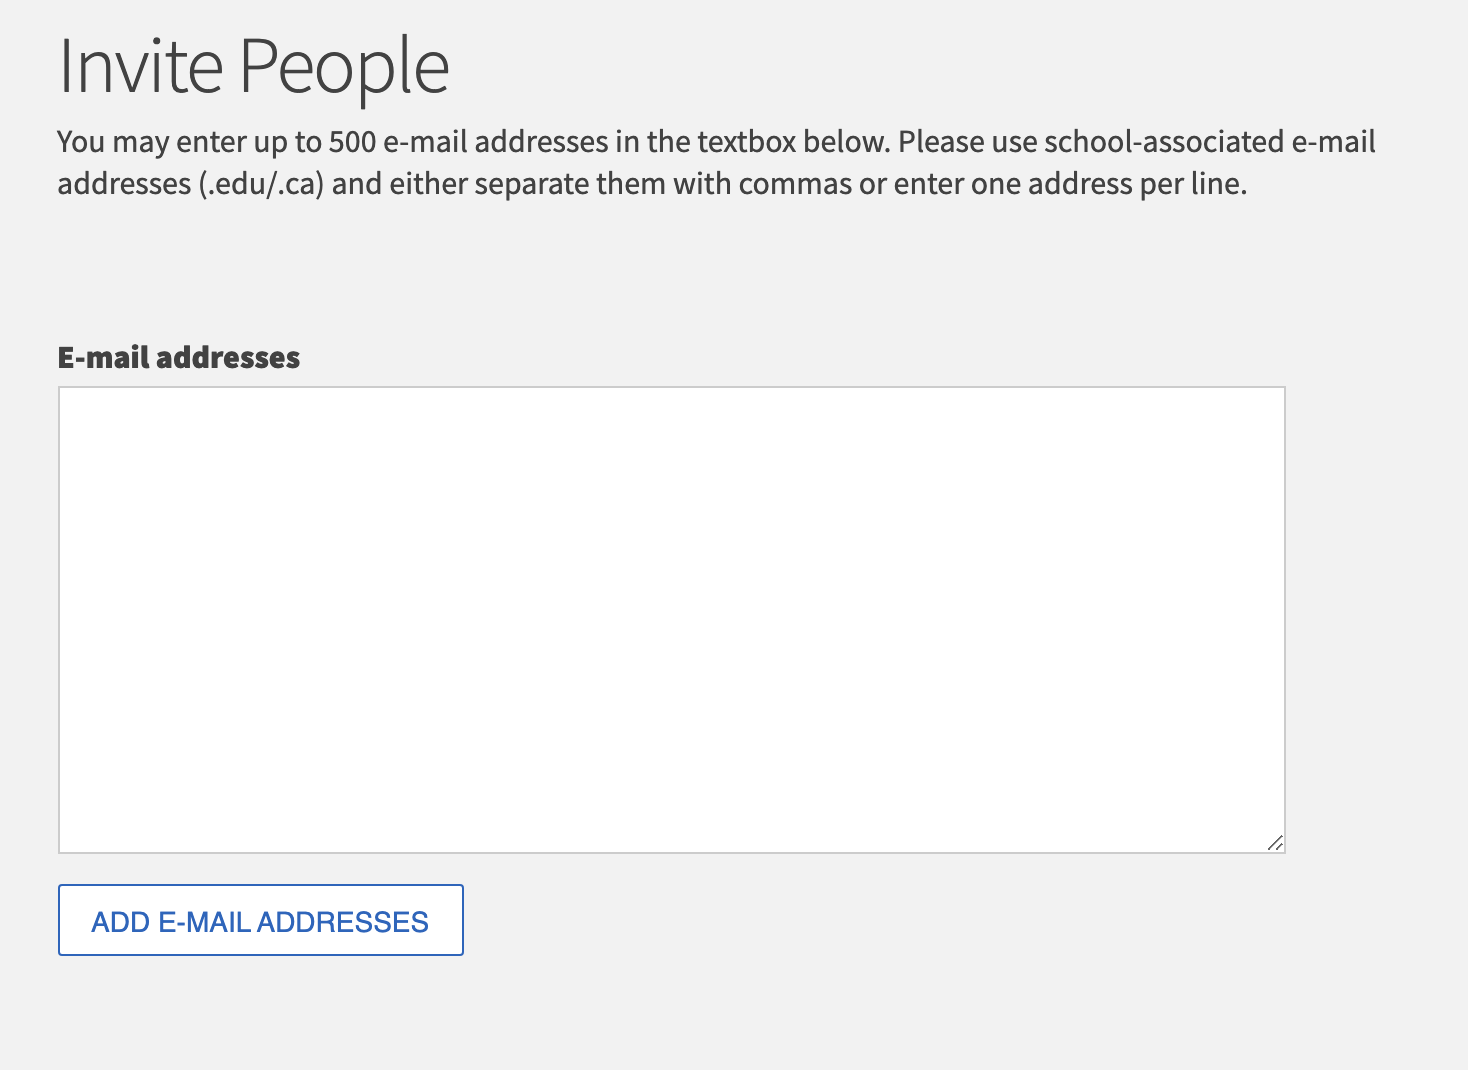
4.Click Send Invitations when all people have been added to the list.

Approving New Membership Requests

In addition to being invited to join your organization, prospective new members can request to join by clicking the Join Organization button on your organization’s home page. These members must be approved by organization officers before they are added to the organization’s roster.

  • From the organization’s pop-out menu, select the Roster tab on the left.
  • Select the tab labeled Prospective in the middle of the page.

Screenshot of the "Manage Roster" section of a membership platform, highlighting the current user, Melissa Montoya, and options for managing memberships.

Assigning Positions to Officers or Members

  1. From the organization’s Roster, locate the member you would like to assign an officer position.
  2. Click Edit Positions to the right of the member’s name (pencil icon).
  3. Select the appropriate position from the list of positions available.
  4. Click the Save button.
  5. The roster page will reload with the position now assigned to the member will be displayed.

Removing Members from the Organization Roster

  1. From the pop-out menu, click Roster to be brought to the Manage Roster page.
  2. Locate the member you would like to remove.
  3. Check the box on the far left of the member’s name.
  4. Click End Membership at the top of the screen.
  5. Confirm deletion.